If your truck suddenly loses power, burns more fuel than usual, or throws a stubborn check engine light, there is a good chance the issue is not as obvious as it seems. Many Chevy owners replace parts blindly, only to realize later that the real problem was hidden deep inside the engine. One of the most misunderstood components is the knock sensor, especially when it comes to identifying the exact Chevy 5.3 Knock Sensor Location.
The challenge is not just about replacing the sensor. It is about knowing where it sits, why it fails, and how it affects your engine performance. Unlike many external components, the knock sensors on a Chevy 5.3 engine are not visible at first glance. This leads to wasted time, incorrect repairs, and unnecessary expenses.
In this complete guide, you will discover the exact Chevy 5.3 Knock Sensor Location across different engine generations. You will also learn how to identify it using diagrams, understand the most common failure causes, and follow a step by step approach to replacement. Whether you are a DIY enthusiast or trying to avoid costly mechanic bills, this guide will help you make smarter and more confident decisions.
Contents
Chevy 5.3 Knock Sensor Location
To fix any engine issue correctly, you first need to understand the exact Chevy 5.3 Knock Sensor Location. Many owners expect to find the sensor outside the engine. In reality, it sits deep inside, making it harder to access than most components.
The Chevy 5.3 engine uses two knock sensors instead of one. Both sensors sit on top of the engine block, right in the valley area. This section lies beneath the intake manifold, which means you must remove the manifold to see them.
Each sensor serves a different bank. One monitors Bank 1, while the other handles Bank 2. They detect unusual vibrations caused by improper combustion. Once detected, they send signals to the engine control unit. The system then adjusts ignition timing to protect the engine.
This hidden placement creates a common problem. Water and debris can collect in the sensor wells over time. As a result, corrosion develops and causes sensor failure. Many drivers replace the sensor but ignore the root cause, which leads to repeated issues.
If you plan to replace the sensors, knowing this location will save time and prevent costly mistakes. It also helps you avoid unnecessary repairs and misdiagnosis.
Chevy 5.3 Knock Sensor Diagram
To fully understand the Chevy 5.3 Knock Sensor Location, you need more than just a description. A clear mental picture of the engine layout helps you identify the exact position without confusion, especially on a complex engine.
When you remove the intake manifold, the valley area becomes fully visible. The valley cover sits between the two cylinder banks, and both knock sensors mount directly on this surface, spaced evenly across the center of the engine block.
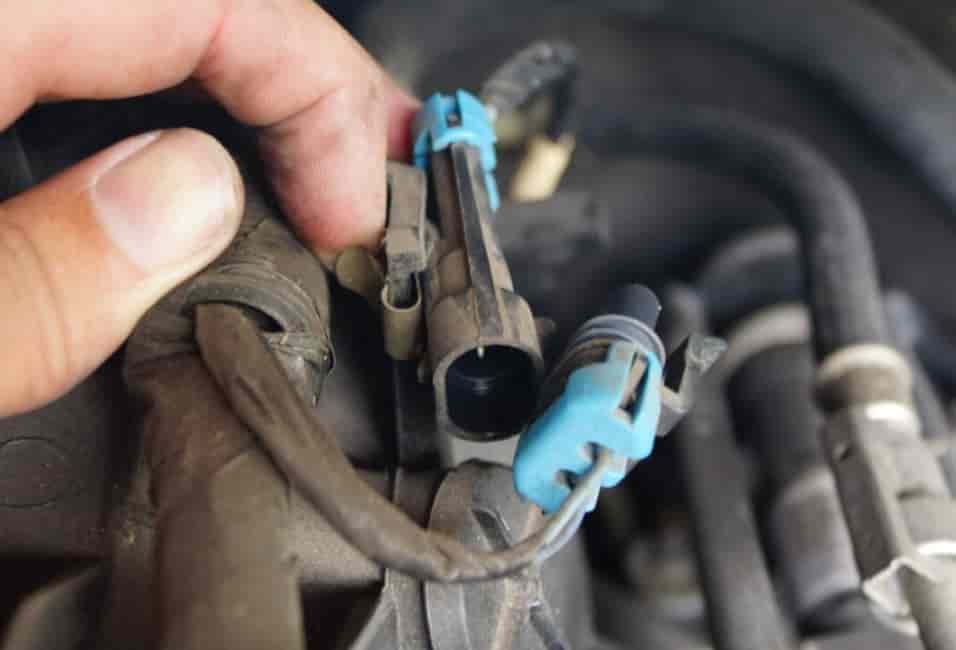
Each sensor connects to a wiring harness running through the same valley area. This harness often becomes a weak point, especially when exposed to moisture. Many repair failures occur because people replace only the sensors and ignore the wiring condition.
The sensors are hidden under the intake manifold, which is why you cannot see them from the outside. While this design improves engine packaging, it also makes maintenance more challenging.
Understanding the exact position prevents common mistakes. Some owners confuse other sensors or components with knock sensors, which can lead to unnecessary disassembly. Knowing the layout in advance allows you to work confidently, save time, and reduce the risk of errors during replacement.
Why Chevy 5.3 Knock Sensors Fail
Understanding why Chevy 5.3 knock sensors fail is essential before you consider replacement. Many drivers think the sensor itself is weak, but in most cases, the failure results from external factors that affect its performance.
One of the most common causes is water intrusion. The valley area under the intake manifold can trap moisture during rain or engine washing. Over time, this moisture can corrode the sensor or its wiring connections, leading to intermittent signals or complete failure.
Another frequent issue is corrosion from heat and chemical exposure. The engine produces high temperatures, and over the years, heat combined with oil or coolant leaks can damage sensor components. Wiring harnesses also degrade due to constant vibration, and a damaged wire can mimic a sensor failure.
Improper installation or previous repairs contribute to problems as well. Some DIY repairs or shortcuts result in sensors not seated properly, or torque specifications ignored. Even the best sensor can fail quickly if it is not installed correctly.
By knowing these common causes, you can take preventive measures. Checking for water accumulation, inspecting wiring, and following correct installation procedures helps extend sensor life. Awareness of these factors ensures your replacement efforts are successful and long-lasting.
Symptoms of a Bad Knock Sensor in Chevy 5.3
Recognizing the symptoms of a failing knock sensor can save you from costly repairs and engine damage. The Chevy 5.3 Knock Sensor plays a critical role in detecting abnormal combustion, so when it malfunctions, your engine performance changes noticeably.
One of the first signs is the check engine light turning on. The engine control unit detects inconsistent or missing signals from the knock sensor and triggers a warning. You may also notice a reduction in engine power as the ECU adjusts ignition timing to prevent knocking. This often results in sluggish acceleration and poor throttle response.
Another common symptom is reduced fuel efficiency. A malfunctioning sensor causes the engine to run less efficiently, increasing fuel consumption. Drivers might also hear unusual knocking or pinging sounds, especially under heavy acceleration, which indicates uncontrolled combustion.
In some cases, the vehicle might enter a limp mode to protect the engine. This mode restricts performance to minimize potential damage. Ignoring these warning signs can lead to more severe problems, including internal engine damage over time.
Being able to identify these symptoms early allows you to diagnose the issue correctly. Addressing the problem promptly ensures your Chevy 5.3 continues to run smoothly and avoids unnecessary repairs caused by prolonged sensor failure.
Chevy 5.3 Knock Sensor Replacement
Replacing the Chevy 5.3 Knock Sensor requires careful attention to detail and proper preparation. Understanding the steps before starting ensures you complete the job efficiently and avoid damaging other engine components.
The first step is to remove the intake manifold. This exposes the valley area where the knock sensors are located. Make sure to disconnect all necessary wiring and label connectors to prevent confusion during reassembly. Once the manifold is removed, you will clearly see the valley cover and the two knock sensors mounted on it.
Next, disconnect the wiring harness attached to each sensor. Carefully remove the sensors by loosening the mounting bolts. Pay attention to the torque specifications provided by the manufacturer, as overtightening or undertightening can cause sensor failure. Once removed, replace each sensor with a new, compatible unit and reconnect the wiring harness.
Before reinstalling the intake manifold, inspect the valley area for debris or moisture that could cause future corrosion. Clean the surfaces thoroughly and ensure all seals or gaskets are intact. Reattach the manifold carefully, reconnect all wiring, and double-check that everything is secured properly.
After completing the replacement, start the engine and observe its behavior. Ensure the check engine light is off and listen for any unusual knocking sounds. Following these steps carefully will help you successfully replace the knock sensors and restore proper engine function without unnecessary complications.
Chevy 5.3 Knock Sensor Replacement Cost
Understanding the Chevy 5.3 Knock Sensor replacement cost helps you plan your repair and avoid unexpected expenses. The cost varies depending on whether you choose to perform the replacement yourself or hire a professional mechanic.
If you decide to do it yourself, the price of the sensors typically ranges from fifty to one hundred fifty dollars. Additional costs may include basic tools, replacement gaskets, and sealant. A DIY approach requires more time and effort, especially because the intake manifold must be removed to access the sensors, but it can save a significant amount of money.
Having a professional handle the replacement can cost between three hundred and eight hundred dollars. The higher cost comes from labor charges due to the complexity of the job. Mechanics follow precise torque specifications and may perform additional inspections to ensure the engine is not damaged.
Knowing the costs in advance allows you to make informed decisions. You can compare the benefits of DIY work against professional service. Additionally, planning ahead helps prevent cutting corners, which could lead to repeated sensor failure or other engine issues.
Error Codes Related to Knock Sensor (P0327, P0332)
The Chevy 5.3 Knock Sensor communicates directly with the engine control unit, and any issues with the sensor can trigger specific error codes. Understanding these codes helps you diagnose problems accurately and take proper action.
Code P0327 indicates a low voltage condition in the knock sensor circuit. When this code appears, the engine control unit may receive weak or inconsistent signals, which can affect ignition timing. Code P0332 points to a sensor failure or open circuit. This usually occurs when the sensor itself or the wiring harness is damaged.
Both codes can result in reduced engine performance, increased fuel consumption, and the check engine light remaining on. Diagnosing the problem involves inspecting the sensor, checking the wiring for damage or corrosion, and testing the sensor’s voltage output. Replacing a faulty sensor often resolves the issue, but ignoring wiring or installation problems can lead to repeated errors.
Recognizing these error codes early allows you to address the problem before it causes more serious engine damage. Accurate diagnosis ensures that your Chevy 5.3 continues to operate smoothly and prevents unnecessary repairs caused by misidentified sensor issues.
Conclusion
Knowing the exact Chevy 5.3 Knock Sensor Location is essential for any repair or replacement. These sensors sit in the valley area beneath the intake manifold, monitoring engine vibrations and sending crucial signals to the engine control unit. Understanding their position helps you avoid misdiagnosis, wasted time, and unnecessary expenses.
Throughout this guide, you learned how to locate the sensors, identify symptoms of failure, and recognize common causes such as water intrusion, corrosion, or wiring damage. You also explored step-by-step replacement procedures, cost considerations, and error codes like P0327 and P0332. Each piece of information contributes to a complete understanding of knock sensor maintenance and replacement.
Addressing knock sensor issues promptly ensures better engine performance, improved fuel efficiency, and long-term reliability. Taking preventive measures, inspecting wiring, and installing sensors correctly minimizes the risk of repeated failures. Whether you choose to perform the repair yourself or hire a professional, knowing the sensor’s location and proper procedures is critical to success.
Have you ever experienced knock sensor problems in your Chevy 5.3? Sharing your experience or questions can help other drivers avoid common mistakes and make more informed decisions about maintenance and repair.