Have you ever tried to find the Chevy 6.0 knock sensor location and ended up feeling confused? You are not alone. Many vehicle owners struggle with this task because the sensor is not visible from the outside.
The knock sensor protects your engine from serious damage. It detects abnormal vibrations and sends signals to the ECU. The system then adjusts timing to prevent engine knock. When the sensor fails, performance drops and fuel consumption increases. You may also see error codes like P0327 or P0332.
Most people make one critical mistake. They assume the sensor sits somewhere easy to access. In reality, Chevy hides it deep inside the engine. This design makes the process harder than expected. As a result, many owners remove the wrong parts or waste hours troubleshooting.
This guide will help you avoid those problems. You will learn the exact Chevy 6.0 knock sensor location and understand its position clearly. You will also discover how to access it the right way. With the right knowledge, you can save time, reduce costs, and avoid unnecessary frustration.
Contents
Where Is the Chevy 6.0 Knock Sensor Location?
The Chevy 6.0 knock sensor location is not visible from the outside. You cannot find it by simply opening the hood. This is the main reason why many people feel confused when they start looking for it.
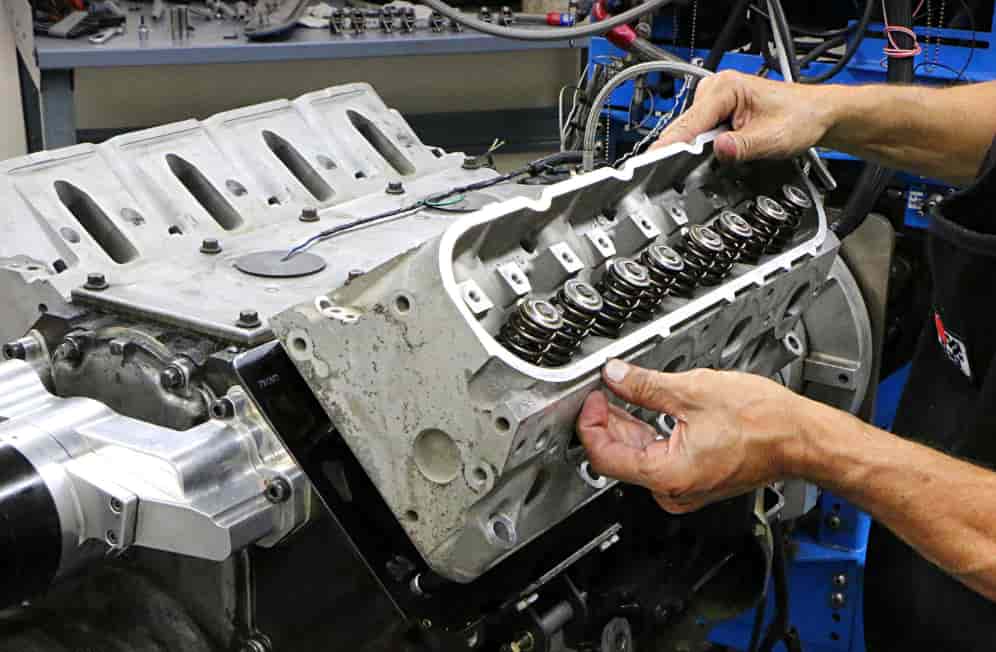
Chevy designed the engine so that the knock sensors sit under the intake manifold. They are located inside the engine valley, which lies between the two cylinder banks. This central position allows the sensors to monitor vibrations across the entire engine.
The Chevy 6.0 engine uses two knock sensors instead of one. Both sensors are mounted on the valley cover and connected through a wiring harness. This setup improves detection accuracy, but it also makes access more difficult.
Many people assume the sensors are placed somewhere on the outside of the engine block. That assumption leads to unnecessary work and wasted time. In reality, you must remove the intake manifold before you can even see the sensors.
This hidden placement also creates another common problem. Water and moisture can enter the valley area if the seals fail. Over time, this can damage both the sensors and the wiring harness, which leads to engine error codes.
Once you understand this layout, everything becomes clearer. The Chevy 6.0 knock sensor location is not complicated, but it does require the correct approach to access it properly.
Chevy 6.0 Knock Sensor Diagram Explained
To understand the Chevy 6.0 knock sensor location better, you need to look at how the system is arranged inside the engine. Even without a visual diagram, you can picture the layout clearly with a simple explanation.
The engine valley sits between the two cylinder banks. Inside this space, Chevy placed two knock sensors. They sit side by side on the valley cover. One sensor monitors one side of the engine, while the other covers the opposite side. This setup allows the system to detect vibrations more accurately.
Each sensor connects to a central wiring harness. This harness links both sensors to the ECU. When the engine runs, the sensors constantly monitor vibrations. If they detect abnormal knocking, they send a signal immediately. The ECU then adjusts ignition timing to protect the engine.
This system works in real time. It helps prevent serious damage caused by detonation. Without it, the engine could suffer from reduced lifespan and poor performance.
The position of the sensors also explains why they are sensitive to moisture. Since they sit in a recessed area, water can collect if the seals are not secure. Over time, this can affect the signal and cause error codes.
Once you understand this structure, the Chevy 6.0 knock sensor location becomes easier to visualize. You can see how each component connects and why proper access is so important.
How to Access Chevy 6.0 Knock Sensor
Accessing the Chevy 6.0 knock sensor requires a clear plan. You cannot reach it directly from the top of the engine. You need to remove several components step by step.
First, disconnect the battery. This step protects both you and the engine electronics. Next, remove the engine cover if your vehicle has one. After that, you need to detach the intake manifold. This is the most important step because the sensors sit underneath it.
Before removing the intake manifold, disconnect all attached hoses and connectors. Label them if needed. This will help you avoid confusion during reassembly. Once everything is disconnected, remove the bolts and lift the manifold carefully.
After you remove the intake manifold, you will see the engine valley. The two knock sensors sit on the valley cover. They connect through a wiring harness in the center. At this point, you can inspect, replace, or clean the sensors.
You will need basic tools such as a socket set and a torque wrench. Make sure you follow proper torque specifications when reinstalling parts. This helps prevent leaks and damage.
Many people make mistakes during this process. They rush the removal or forget to replace the intake gasket. This can lead to vacuum leaks and engine issues later. Always take your time and double check each step.
If you follow the correct process, accessing the Chevy 6.0 knock sensor becomes much easier. The job may look complex at first, but it is manageable with the right approach.
Common Problems When Accessing Knock Sensor
Many people run into problems when they try to access the Chevy 6.0 knock sensor. Most of these issues come from small mistakes during disassembly or reassembly.
One common mistake is removing the intake manifold too quickly. Some users forget to disconnect hoses or electrical connectors. This can damage parts or create confusion later. Taking a few extra minutes to check everything can save hours of repair.
Another frequent issue involves the wiring harness. People often pull it too hard or ignore its condition. Over time, the harness may become brittle. If it breaks, you may need extra repairs beyond the sensor itself.
Water intrusion is one of the biggest problems. The valley area can collect moisture if the seals are not installed correctly. When water enters, it can damage both knock sensors. This often leads to error codes like P0327 or P0332.
Many users also forget to replace the intake manifold gasket. Reusing an old gasket may cause vacuum leaks. This can reduce engine performance and create new issues after the repair.
Improper torque is another hidden problem. If bolts are too loose, leaks may occur. If they are too tight, you risk damaging components. Always follow the correct torque specifications.
Understanding these common mistakes helps you avoid costly repairs. When you take the right approach, accessing the Chevy 6.0 knock sensor becomes much safer and more efficient.
Why Chevy 6.0 Knock Sensors Fail
Chevy 6.0 knock sensors often fail due to environmental factors and long term wear. The most common cause is moisture entering the engine valley.
The sensors sit in a recessed area under the intake manifold. This design protects them from external damage, but it also creates a risk. Water can collect in the valley if the seals or gaskets are not installed properly. Over time, this moisture leads to corrosion.
Corrosion affects both the sensors and the wiring harness. When this happens, the signal becomes weak or inconsistent. The ECU may no longer receive accurate data. As a result, you may see error codes like P0327 or P0332.
Heat is another important factor. The engine produces high temperatures during operation. Constant exposure to heat can degrade the internal components of the sensors. This reduces their sensitivity and accuracy over time.
Age also plays a role. Like any electronic component, knock sensors do not last forever. After years of use, their performance starts to decline. This can happen even without visible damage.
Poor installation can make things worse. If you do not seal the valley area correctly, moisture will return. This often leads to repeated failures, even after replacing the sensors.
To prevent these issues, always ensure proper sealing during installation. Use quality parts and check the wiring harness carefully. A small preventive step can save you from major repairs later.
Pro Tips for Easier Access and Replacement
Working on the Chevy 6.0 knock sensor can feel complex at first. However, a few simple tips can make the process much easier and safer.
Start by taking photos before you remove any parts. This helps you remember the exact position of hoses and connectors. When you reinstall everything, you will avoid confusion and mistakes.
Label each connector as you disconnect it. This step is especially useful if you are not familiar with the engine layout. It also saves time during reassembly.
Always inspect the wiring harness carefully. If it looks worn or brittle, consider replacing it. A damaged harness can cause the same error codes as a bad sensor.
Use the right tools for the job. A proper socket set and torque wrench are essential. Correct torque ensures a tight seal and prevents leaks. Skipping this step can lead to future problems.
Replace the intake manifold gasket every time you remove it. Reusing old gaskets often leads to vacuum leaks. This small investment can prevent major issues later.
Apply proper sealing to protect the valley area from moisture. Many experienced mechanics use additional sealant to improve protection. This helps extend the life of the new sensors.
Plan your time before starting the job. Rushing often leads to mistakes. If you work carefully, you can complete the task smoothly and avoid repeat repairs.
With the right preparation, accessing and replacing the Chevy 6.0 knock sensor becomes much more manageable. You can save both time and money by doing it correctly the first time.
Conclusion
Understanding the Chevy 6.0 knock sensor location is the key to avoiding unnecessary frustration and costly mistakes. Many vehicle owners struggle with this task because the sensors are hidden under the intake manifold. Once you know this, the entire process becomes much easier to manage.
The sensors sit in the engine valley and work together to monitor vibrations across the engine. This design improves accuracy, but it also makes access more challenging. Without the right approach, you may remove the wrong parts or miss important steps.
By learning the exact position, understanding the system layout, and following the correct access method, you can handle this job with confidence. You can also avoid common issues such as water damage, wiring problems, and repeated sensor failure.
Taking your time and using the right tools will make a big difference. Small details like replacing gaskets and sealing the valley properly can prevent future repairs. These steps help protect both your engine and your budget.
Now that you clearly understand the Chevy 6.0 knock sensor location, the next step is yours. Will you handle the repair yourself or let a mechanic do it? Either way, you now have the knowledge to make the right decision.