If your check engine light comes on or your car shows unusual signs like rough idling, hard starting, or a strong fuel smell, a failing canister purge valve might be the cause. This important part in your vehicle’s EVAP system controls fuel vapors from the charcoal canister to the engine. It helps reduce emissions and keeps your engine running smoothly. Ignoring a faulty purge valve can decrease fuel efficiency, cause engine misfires, and damage other emission components.
Many car owners find taking their vehicle to a mechanic expensive and time-consuming. Learning how to replace a canister purge valve at home saves money and gives you control over car maintenance. This guide is designed for DIY enthusiasts. It provides step-by-step instructions, practical tips, and safety precautions to make the process easier and safer.
Whether you replace an old OEM valve or install an aftermarket one, this guide walks you through each step. Following these instructions carefully can restore your car’s performance, prevent engine problems, and help your vehicle meet emission standards. You can complete the replacement with confidence and keep your car running efficiently.
Contents
What is a Canister Purge Valve?
A canister purge valve is a vital part of your vehicle’s EVAP system. Its primary function is to control the flow of fuel vapors from the charcoal canister to the engine. This process reduces harmful emissions and ensures the engine runs efficiently. When the valve works properly, your car maintains smooth performance and better fuel efficiency.
A failing canister purge valve produces noticeable symptoms. You may experience rough idling, difficulty starting the engine, or a strong fuel smell inside or around your car. Many cars will turn on the check engine light and store error codes such as P0441 or P0446. Ignoring these warning signs can lead to lower fuel efficiency, engine misfires, and potential damage to other emission system components.
Replacing the purge valve is often the most effective solution. Temporary fixes rarely solve the underlying problem, and only a new valve can restore proper EVAP system function. Knowing how this component works helps you diagnose issues accurately and act quickly. This information is especially valuable for DIY car owners who want to maintain their vehicle safely and avoid unnecessary trips to a mechanic.
Understanding the function of the canister purge valve and recognizing early signs of failure lets you take control of your car’s maintenance. Prompt replacement protects engine performance, improves fuel efficiency, and keeps your vehicle compliant with emission standards while reducing environmental impact.
Tools and Materials Needed for Canister Purge Valve Replacement
Before starting a canister purge valve replacement, you need to gather the right tools and materials. Having everything ready ensures the process goes smoothly and safely. Basic tools include screwdrivers, a ratchet set, pliers, and gloves. Safety glasses are also essential to protect your eyes from debris or fuel vapors.
You will also need the replacement valve. You can choose between an OEM part, which matches your car’s original specifications, or an aftermarket valve, which may offer additional durability or cost savings. Inspect the new valve for any defects before installation.
Safety precautions are important when working on your vehicle. Always disconnect the battery to prevent electrical accidents. Work in a well-ventilated area to avoid inhaling fuel vapors. Keep a fire extinguisher nearby as an extra safety measure.
Additional items such as rags, zip ties, or hose clamps may help secure hoses or clean up spills during the replacement. Preparing all tools and materials in advance reduces stress and avoids interruptions while working on your car.
By organizing the necessary tools and parts, you can complete the canister purge valve replacement efficiently. Proper preparation not only makes the job easier but also ensures a safer and more effective repair. Following these steps carefully will help maintain your car’s performance and protect your engine from potential damage.
Step-by-Step Canister Purge Valve Replacement
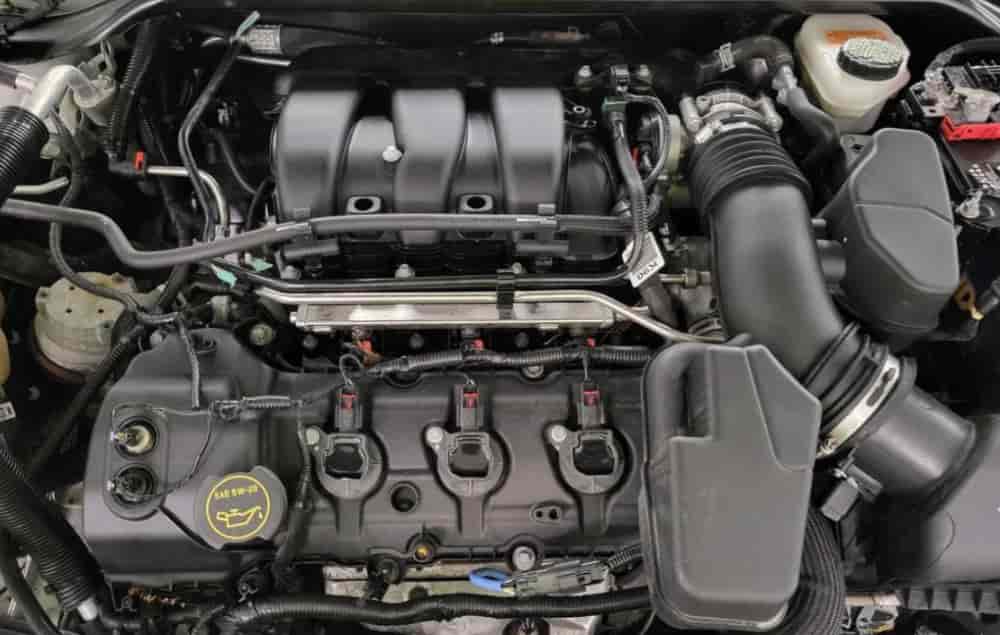
Replacing a canister purge valve requires careful attention but can be done at home with the right tools. Start by locating the valve in your car. It is usually attached to the EVAP system near the engine or charcoal canister. Check your vehicle’s manual if you have trouble finding it.
Before touching any components, disconnect the battery. This prevents electrical shorts or accidental engine starts while you work. Wear gloves and safety glasses to protect yourself from fuel vapors and sharp edges.
Next, disconnect the electrical connector from the purge valve. Press the release tab and gently pull it away from the valve. Then remove the vacuum hoses attached to the valve. Take care not to damage the hoses, as cracks or leaks can affect EVAP system performance.
Remove the old valve by loosening its mounting bolts or clips. Inspect the surrounding area for any signs of damage or wear. Clean the connection points with a rag to ensure a secure fit for the new valve.
Install the new valve by securing it with the original bolts or clips. Reconnect the vacuum hoses and electrical connector carefully. Make sure the hoses are fully seated and the connector clicks into place.
Reconnect the battery and start the engine. Observe for any unusual noises, smells, or error codes. Your check engine light should turn off if the replacement was successful.
Following these steps ensures a smooth and safe replacement. Proper installation restores EVAP system function, improves fuel efficiency, and helps maintain engine performance. Taking your time and following safety precautions prevents mistakes and protects both your vehicle and yourself.
Cost and Time Expectations for Canister Purge Valve Replacement
The cost of a canister purge valve replacement depends on the type of valve and labor. OEM valves usually cost more but guarantee compatibility with your vehicle. Aftermarket valves may offer lower prices and durability, but always check reviews before purchasing. On average, a valve can cost between $30 and $100, depending on the brand and car model.
DIY replacement saves labor costs entirely. Hiring a mechanic can add $50 to $150 for labor, depending on your location. Replacing the valve yourself not only saves money but also gives you control over the quality of parts used.
Time is another factor to consider. For most cars, a DIY canister purge valve replacement takes 30 to 60 minutes. Cars with complex engine layouts may take longer, especially if hoses or connectors are hard to reach. Preparing tools and materials in advance helps complete the job efficiently.
By understanding cost and time expectations, you can plan your repair more effectively. Knowing what to expect reduces surprises and ensures a smoother DIY experience. Proper planning also helps maintain your car’s performance and prevents unnecessary trips to a mechanic.
Conclusion and Final Tips for Canister Purge Valve Replacement
Replacing a canister purge valve yourself can save money, improve engine performance, and keep your vehicle compliant with emission standards. By following proper safety precautions, gathering the right tools, and carefully completing each step, you ensure a smooth and effective replacement. DIY enthusiasts can take pride in maintaining their own cars and preventing potential engine problems.
Always inspect the surrounding hoses and connectors during the replacement. Ensuring all connections are secure prevents leaks and maintains the EVAP system’s efficiency. Choosing the right valve, whether OEM or aftermarket, also plays a critical role in long-term performance.
After installation, monitor your vehicle for any warning signs, unusual noises, or check engine codes. Prompt action at the first sign of trouble can prevent further damage and additional repair costs. Regular maintenance of the EVAP system keeps your car running efficiently, saves fuel, and reduces emissions.
Taking the time to perform a canister purge valve replacement correctly provides both short-term and long-term benefits. By understanding the process, preparing adequately, and following safety tips, you can complete the replacement confidently and effectively. Maintaining your vehicle proactively ensures reliability, efficiency, and peace of mind.