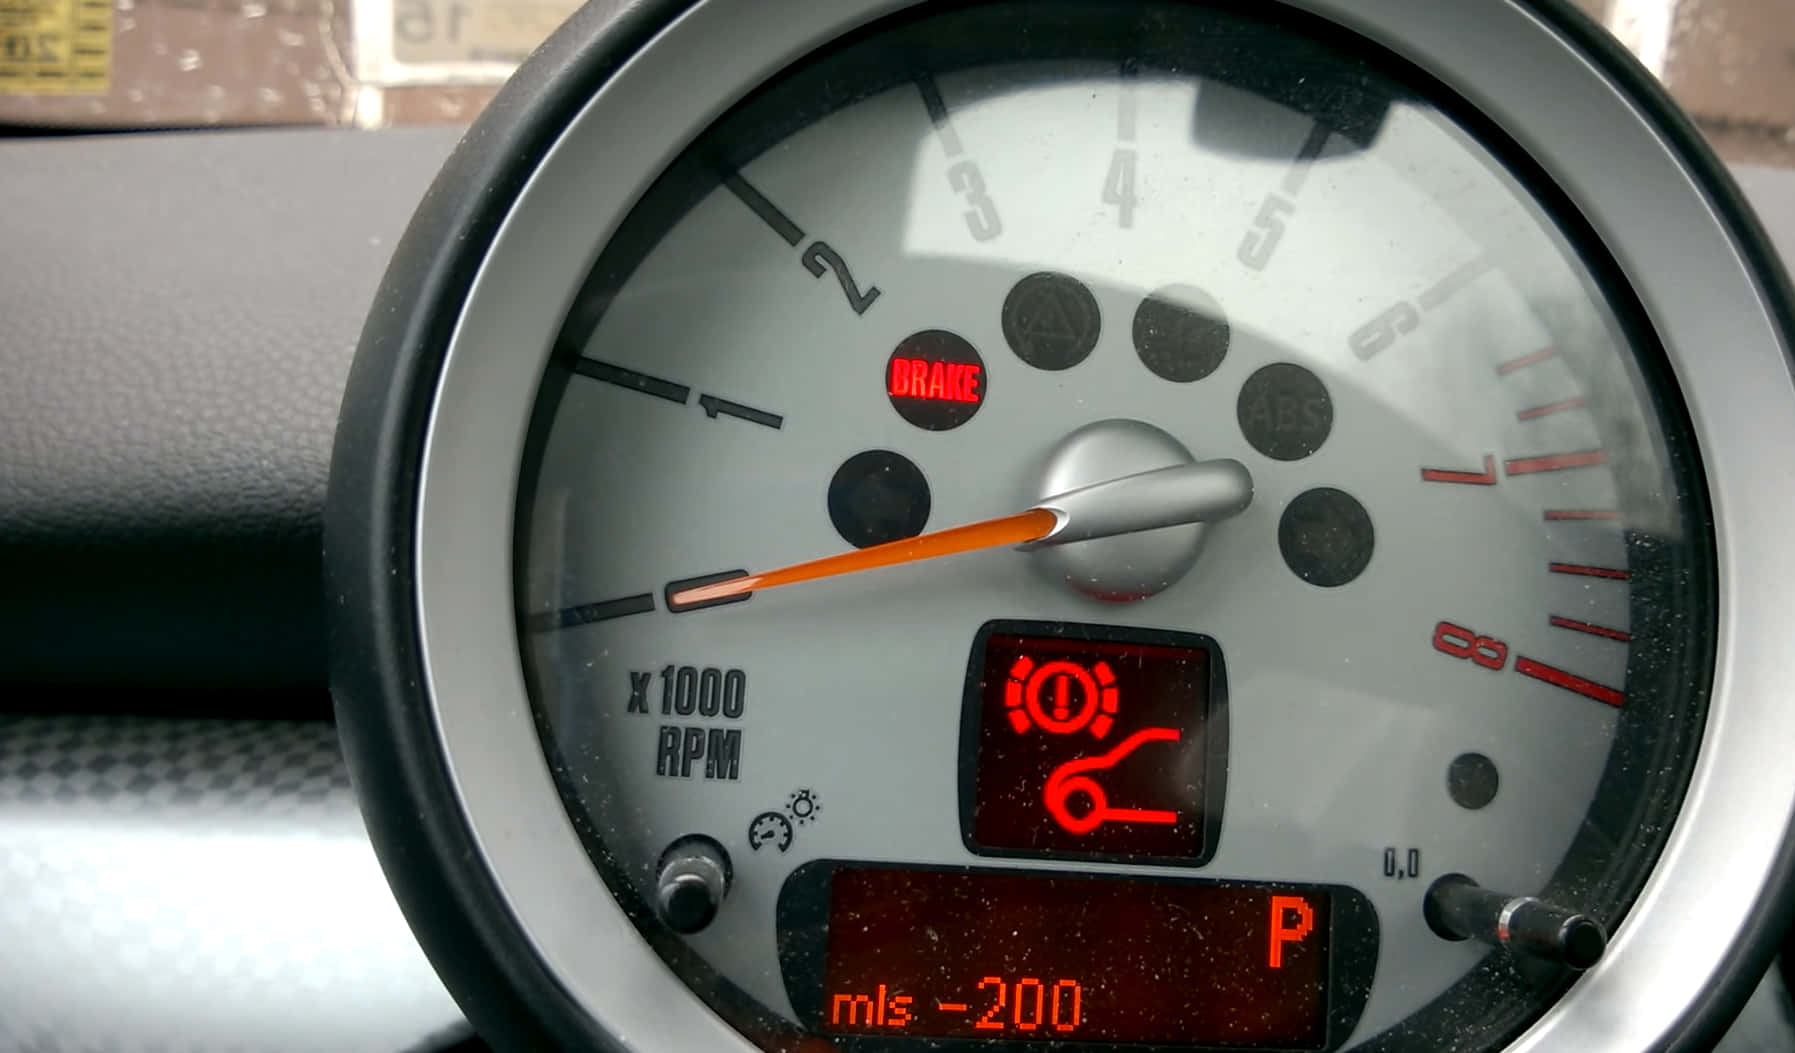
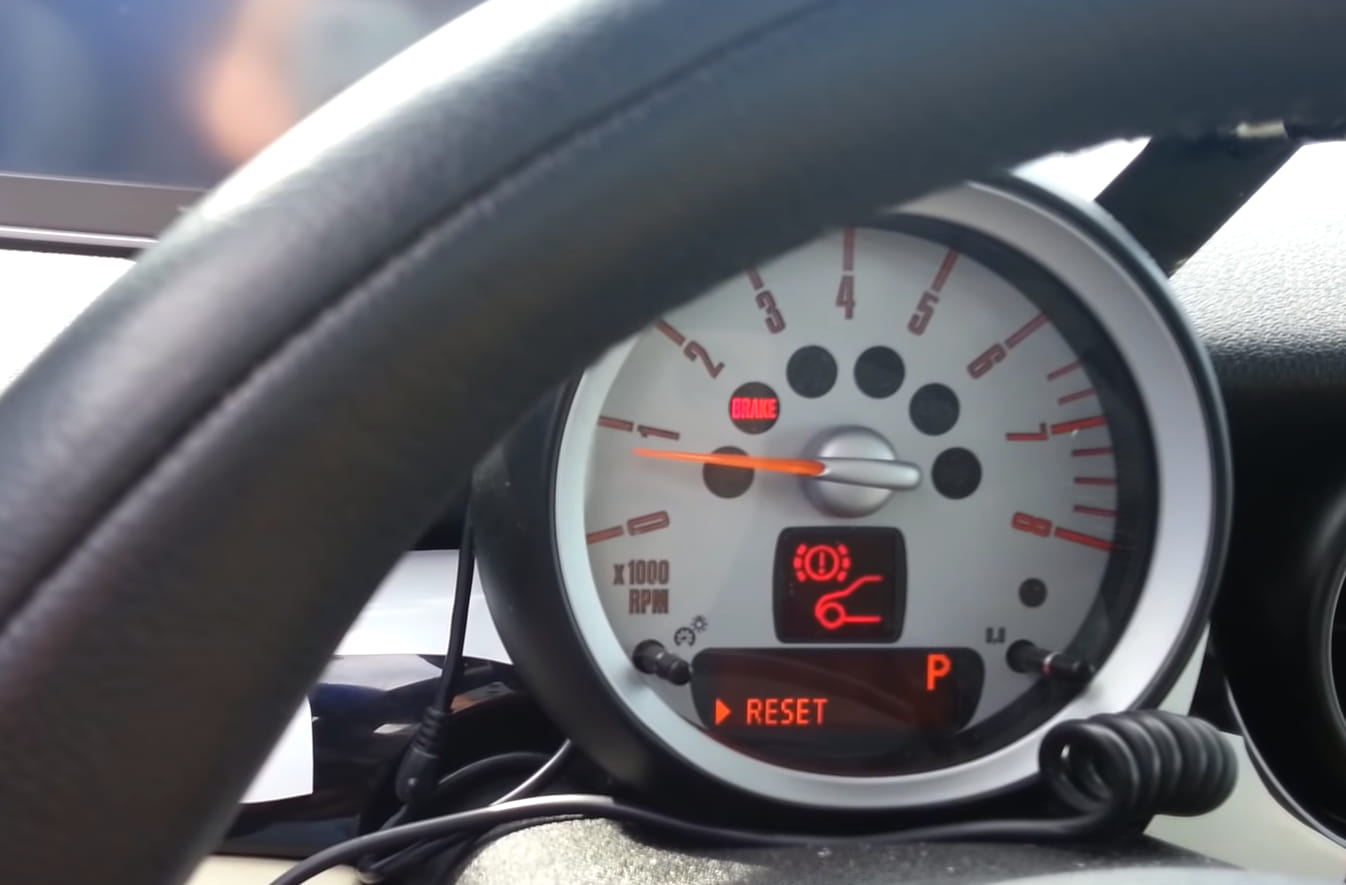
Wondering why your Mini Cooper brake light stays on?
You may be worried that your Mini Cooper brake light won’t turn off, which is definitely not a normal situation. This is why it helps to understand brake lights and their common issues such as this one.
Find out the reasons why your brake light won’t turn off and some solutions you can try to address this problem. Let’s get started.
Contents
Mini Cooper Brake Light Stays On
When your Mini Cooper brake light won’t turn off, you may be wondering what is causing this issue.
Brake lights are very important parts of your car. These lights normally turn on when you step on the brake pedal. They are designed to warn vehicles behind you, so they are aware when you need to stop or slow down.
However, when the lights are not working right, or they are stuck, then they do not perform their job as well as they should. Thus, this places you and other motorists in danger since this important component of your vehicle is malfunctioning.
Among the reasons why your brake lights stay on are brake assembly issues, low brake fluid level, and circuit errors. There are some things you can do to address these problems such as by checking the switch of your brake light, replacing blown fuses, replacing burnt-out bulbs, installing a replacement brake light switch, detaching the car battery, and making sure your brake pedal is free from dirt.
Additionally, you should also maintain the required brake fluid level and avoid shorting the BCM. In the next section, we will discuss further what you can do to fix this problem with the brake light.
Fixing The Issue With Brake Light That Stays On
If your brake lights are stuck and will not turn off, here are some things you can do to address this problem.
1. Inspect the Brake Light Switch
In most cases, the reason behind a brake light that stays on is a problem with the brake light switch. This is why it helps to inspect the switch and get it fixed to be able to turn the brake light off.
But before you do this, be sure to disconnect your battery to prevent damage and electrical shock. Start by disconnecting the negative terminal first and use a socket or hand wrench to loosen the nut. Make it a point to wear eye protection as you work on this to avoid accidents.
2. Replace Blown Fuse
If the issue is with the fuse, then you need to get it replaced. Locate the fuse box and check if the fuse requires a replacement. You will have to remove parts of your vehicle’s interior trim, so you can gain access to the fuse box. Then, check all the fuses connected to the brake light. Check your manufacturer’s manual for directions when it comes to replacing the fuse.
3. Brake Light Switch Replacement
Your brake light switch is found near your car’s brake pedal. It is marked and completes the circuit of your brake light in the electrical system. If there are defects to the switch, then you need to get it replaced.
Make sure that you disconnect the pigtail harness and tuck it away in a secure place before you remove the switch. You will have to use this component later, so it is best to keep it safe. Then, take the switch out of the brake pedal linkage. Avoid losing the mounting hardware because you will also use it when you install the replacement switch.
In the event that you accidentally break the harness, use an electrical tape to keep the pigtail in place when reassembling the pieces.
4. Check the Brake Pedal Bumper
If the brake pedal bumper is not in good shape, this activates the brake light switch. Moreover, if there is a lost bumper, this will do the same thing. This is why you should check the floorboard underneath the pedals and check for rubber crumbles, usually yellowish or bluish in color.
When you find these pieces, it means that the bumper has deteriorated over time. Hence, it is the likely reason why the brake light does not turn off. Simply replace these missing bumpers to close the brake circuit out.
5. Change the Burnt-Out Bulbs
If the bulbs are no longer working as they should, then it is time to change them. Each time you pump on the brake, wear and tear happens and can impact the brake lights. This is why you need to get these replaced over time.
6. Take the Car Battery Out
In the case of a Mini Cooper with brake lights that stay on, it could be that the battery gets drained fast. So, remove the battery to preserve the power left while you are working on the brake light.
7. Remove Dust And Debris on the Brake Pedal
Sometimes, your brake pedal can get stuck and prevent the switch from closing, which explains why the brake lights won’t turn off. You need to make sure that there is no debris caught between your pedal and brake switch. Clean the pedal and remove any corrosion.
Additional Pointers On Mini Cooper Brake Light That Stays On
Aside from cleaning the brake pedal, you need to maintain the brake sockets to prevent the lights from getting stuck. These sockets need to be cleaned or even replaced when they are not anymore feasible for you to clean.
Furthermore, make sure that the Body Control Module or BCM is not shorted. Any issue with this component will cause the lights to get stuck.
And most importantly, check the brake fluid level. It should be at the required level to make sure the brake performance and brake lights are doing as they should. But you need to flush the old one out and add new brake fluid to the tank just to stay on the safe side.
Read More: 2005 Mini Cooper Automatic Transmission Problems – Common Issues You Should Know
Final Thoughts
When your Mini Cooper brake light stays on, there are many reasons why this may happen – as well as things you can do to address this issue. Consider the techniques we have shared above and these should help with diagnosing and fixing the problem with your brake lights. Then, you can expect these lights to work as they should and keep you and others safe while on the road.